Pass Template Builder Settings for an Event Ticket #
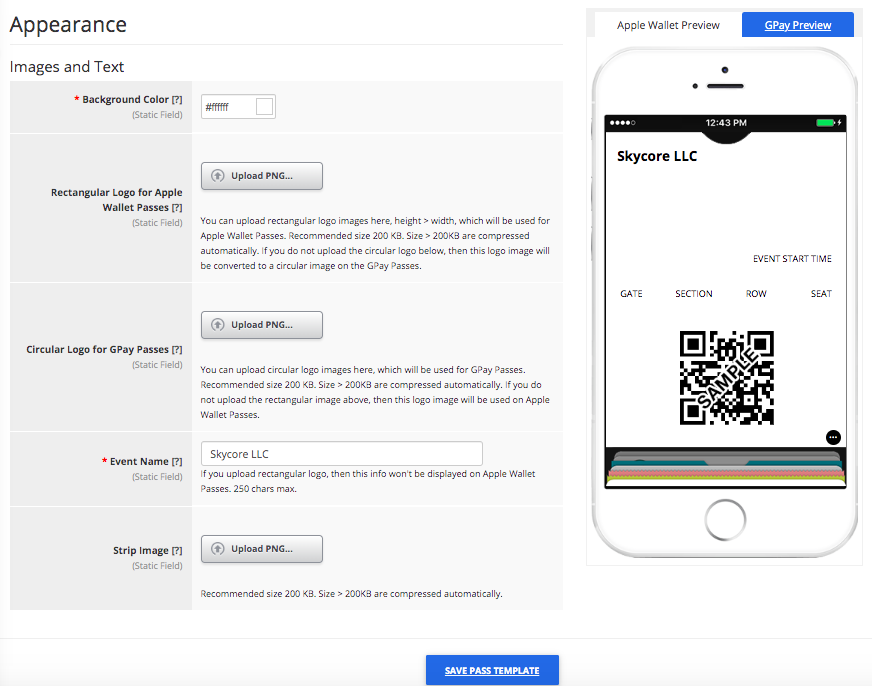
Appearance
Customize the appearance for the event ticket by adding strip images, logos, and background color.
Field
Description
Logo
Upload a Logo that will appear on the customer’s event ticket. The logo will appear rounded in the top center of the Pass on Google Pay and will appear square/rectangular in the top left corner of the Pass on Apple Wallet. The minimum size for the logo is 660px by 660px. It is recommended to leave the logo with a full bleed background color and a 15% margin.
Event Name
The name of the event. The event name is displayed below the logo on Google Pay passes and to the right of the logo on Apple Wallet Passes. An ellipsis will be displayed if the event name exceeds 20 characters. This field is required to generate the event ticket.
Strip Image
The strip image is displayed as a banner across the center of the Pass for both Apple Wallet and Google Pay. The required image type is a PNG file. The recommended image size is 1032px by 336px. Use an image with a colored background for the best results.
Background
Set a background color for the Pass. The format is #rrggbb, where rrggbb is a hex RGB triplet, such as #ffcc00. The background color is the same for every Pass.
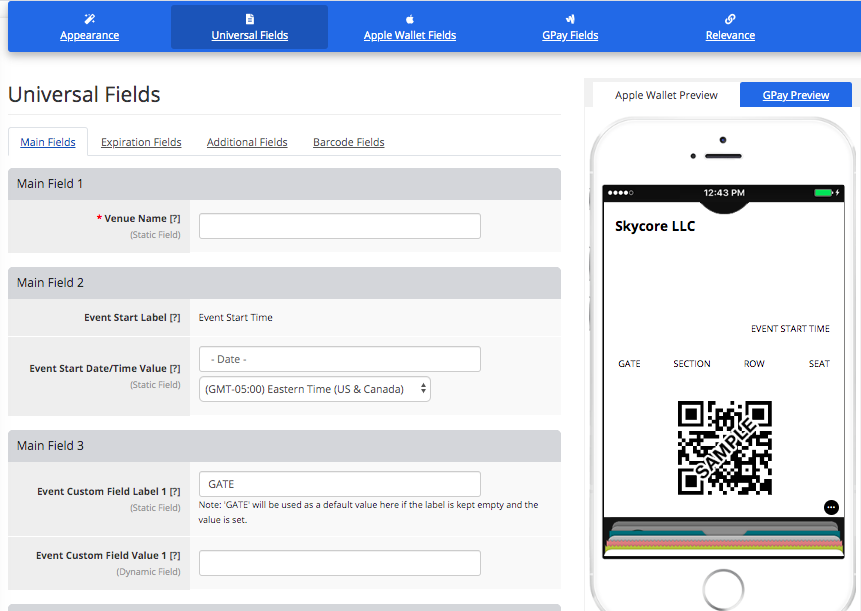
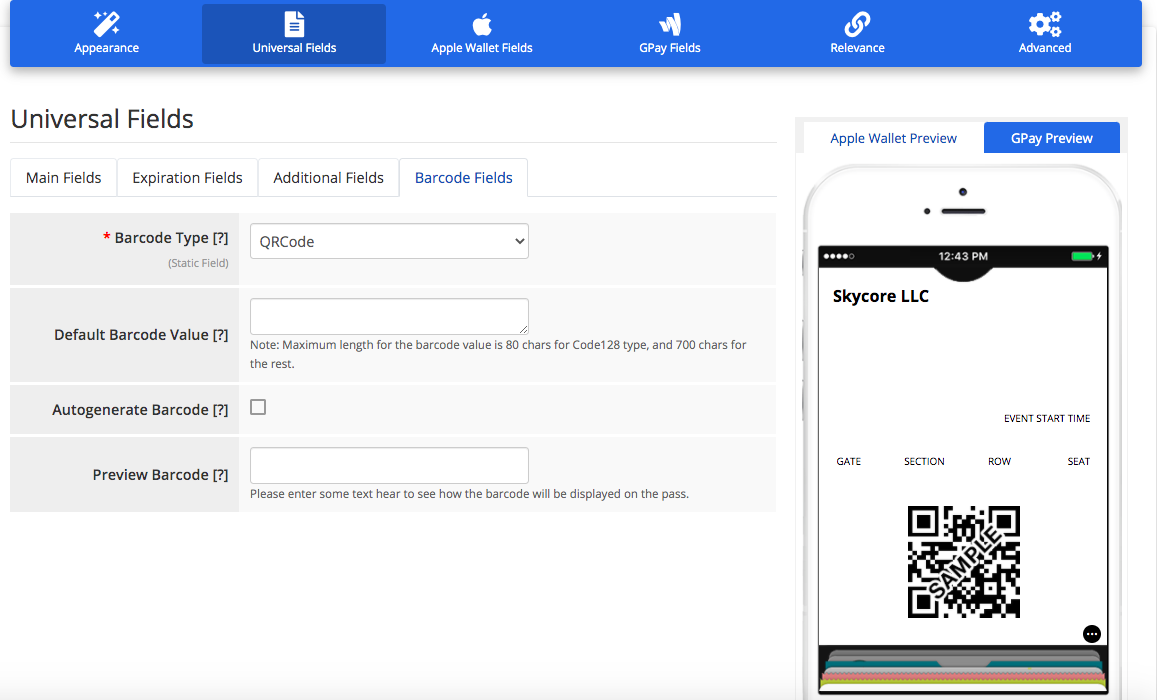
These are the fields that will appear on the front of the Pass for both Apple Wallet and Google Pay.
Field
Description
Field 1: Venue Name
The name of the venue for the event. This field is required to generate the event ticket.
Field 2: Event Start Date/Time
Set the event start date and time.
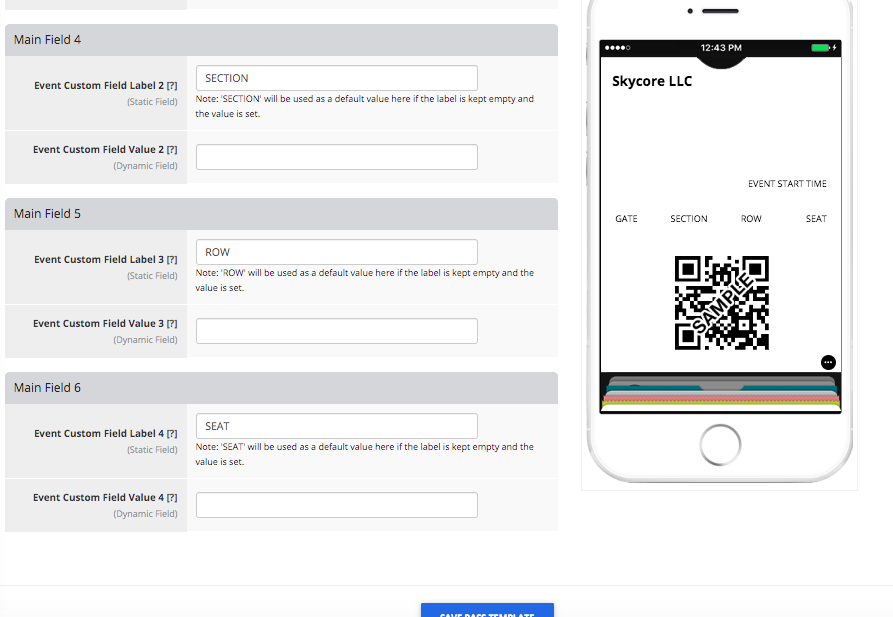
Fields 3-6: Custom Event Fields
Add custom labels and values for this event ticket template. Examples: Gate Number, Seat Section, Seat Row, Seat Number, Screen, Auditorium, Number of Tickets, etc. Note the default labels that will appear if the values are set in these fields without labels.
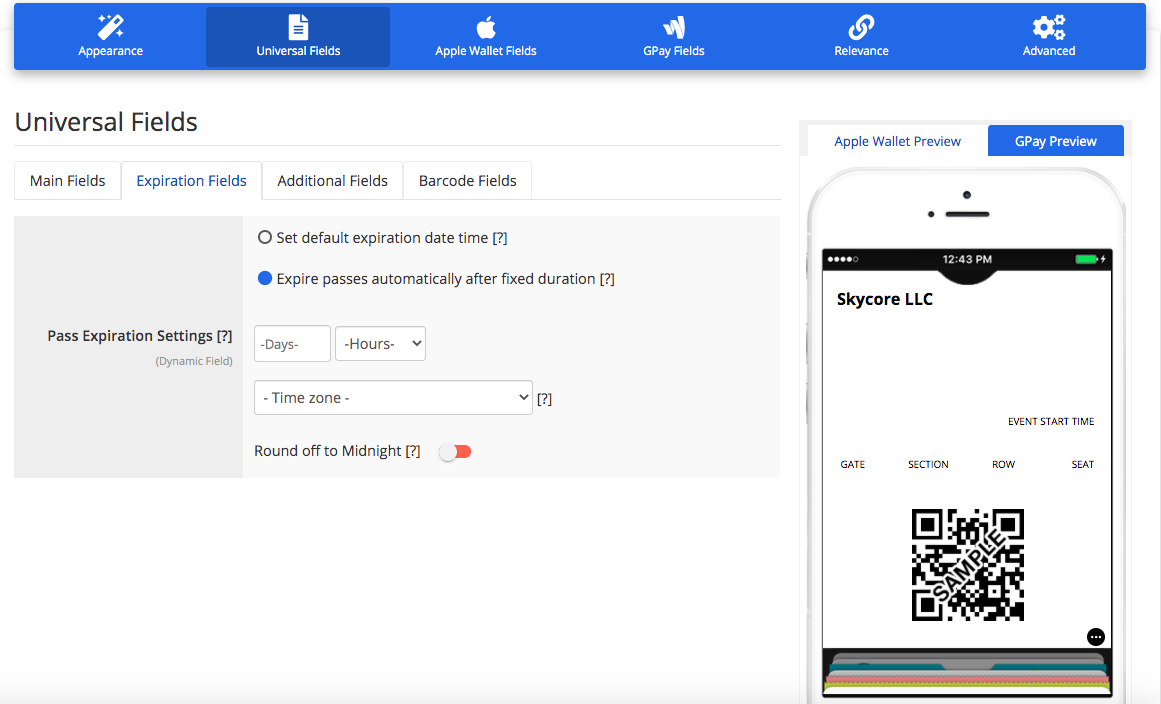
Expiration Fields
Field
Description
Set default expiration date time
(Optional) Add an expiration date for all Passes that are installed for this Template. The timezone will be used as default, if not sent in the request when generating/updating passes via API.
Expire passes automatically after fixed duration
Auto expire the pass by setting a fixed duration after which the pass gets expired automatically from the time of its first generation. If any specific expiration timestamp is set for the pass record, then these settings will be overridden by the pass record expiration timestamp.
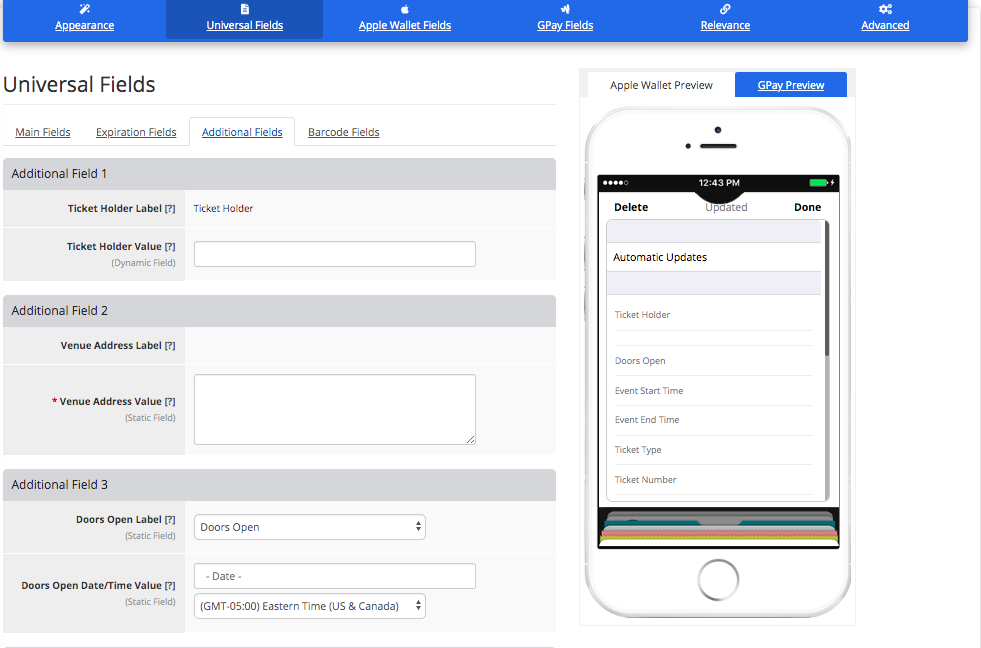
Additional Fields
These fields will appear on the back of the Pass on Apple Wallet and below the Pass on Google Pay.
Field
Description
Pass Expiration
Check the box if the Pass should have an expiration date. Choose a date and time for the Pass to expire.
Field 1: Ticket Holder
Add the name of the ticket holder for the event ticket.
Field 2: Venue Address
Add the address of the venue for the event ticket. This field is required to generate the event ticket and allows line breaks. Google Pay Passes will show a link next to this field that will open google maps when clicked.
Field 3: Doors/Gates Open Date & Time
Chose between doors open or gates open for the label and set the time when the doors/gates open for the event.
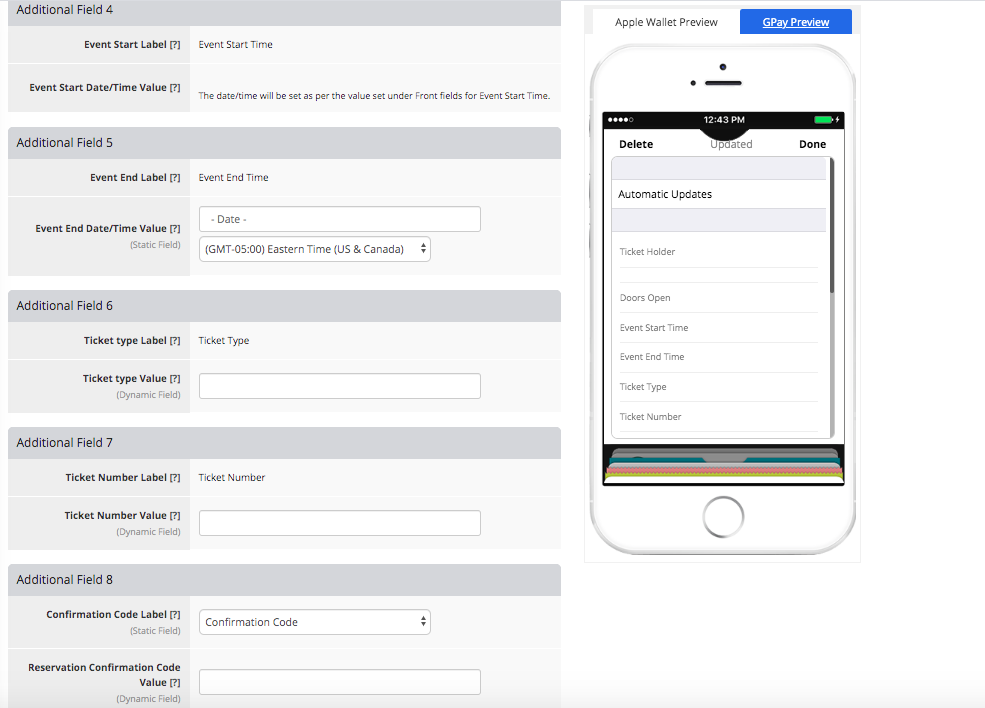
Field 4: Event Start Date/Time
The event start date & time set in the mains field section will appear here as a fixed label and value.
Field 5: Event End Date/Time
Set the end date & time for the event.
Field 6: Ticket Type
Choose the ticket type, such as ‘Adult’, ‘Child’, or ‘Senior’.
Field 7: Ticket Number
Enter the ticket number.
Field 8: Confirmation Code
The confirmation code of the event reservation. This may also take the form of an “order number”, “confirmation number”, “reservation number”, etc.
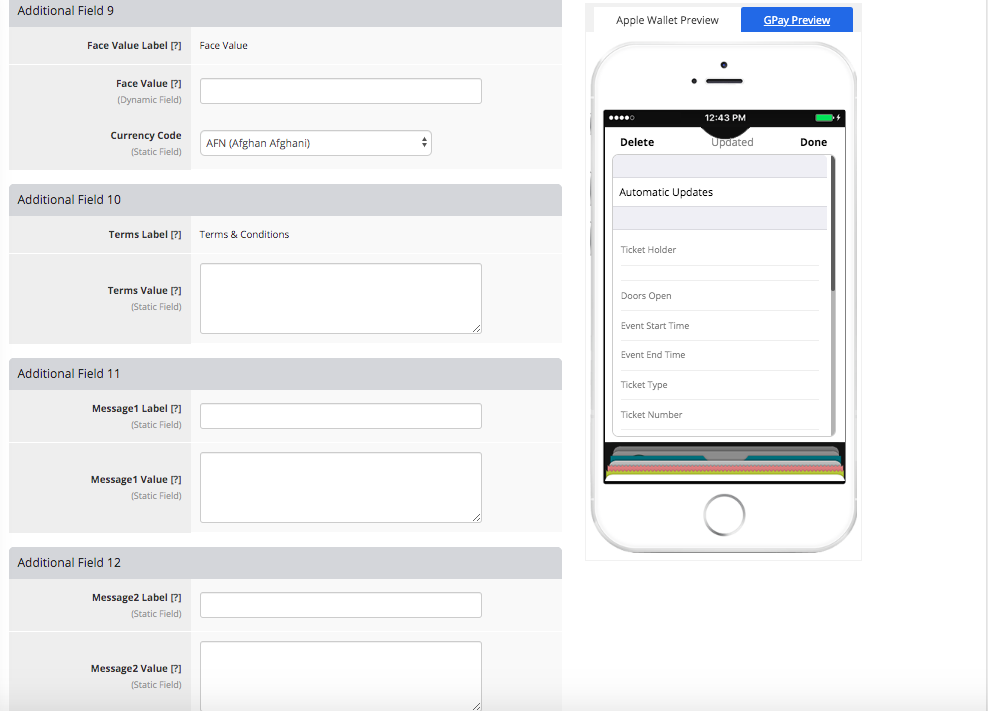
Field 9: Face Value
The face value of the ticket, matching what would be printed on a physical version of the ticket.
Field 10: Terms
The fine print, terms, or conditions of the ticket. This field allows 1,000 characters and line breaks.
Field 11 & 12: Message 1 & Message 2
These are optional fields to add messages on the back of the Pass for Apple Wallet or below the Pass for Google Pay. These fields allow line breaks.
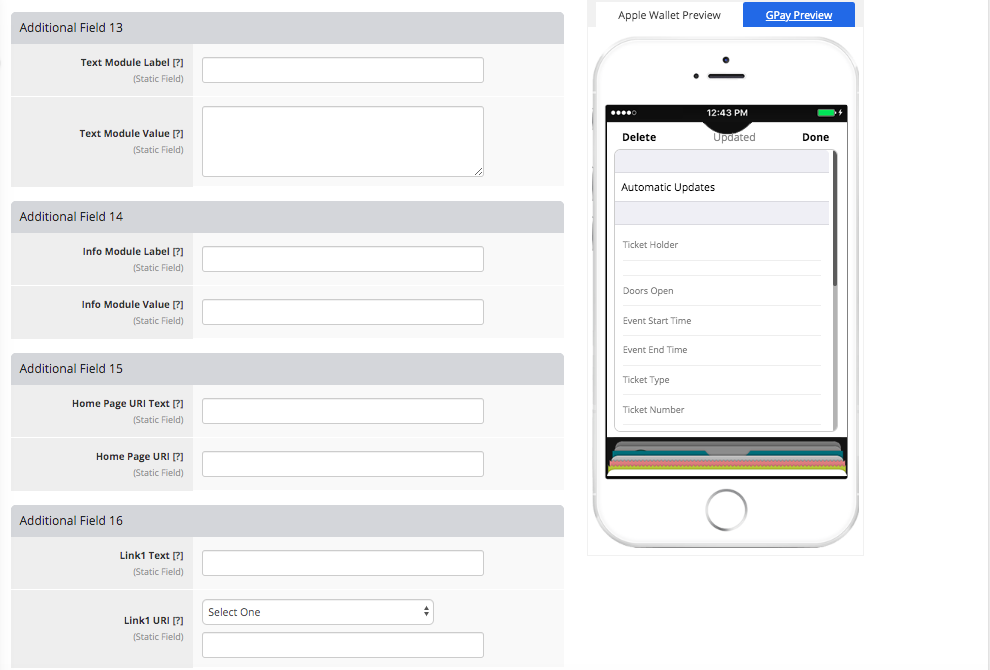
Field 13: Text Module
The recommended maximum length for the label is 35 characters to ensure the full string is displayed on smaller screens. The value of the Text Module is defined as an uninterrupted string. The recommended maximum length is 500 characters to ensure the full string is displayed on smaller screens. This field also allows line breaks.
Field 14: Info Module
The recommended maximum length for the label is 30 characters to ensure the full string is displayed on smaller screens. The recommended maximum length for the value is 30 characters to ensure the full string is displayed on smaller screens.
Field 15: Home Page URI
Add a link to the airline’s website.
Field 16 & 17: Link 1 & 2
Add any link including a link to a telephone number, URL, email address, or specific location. Google Pay uses special icons to distinguish different types of URI’s for the fields that use links. To use an icon, select from the drop-down menu and enter the correct data.
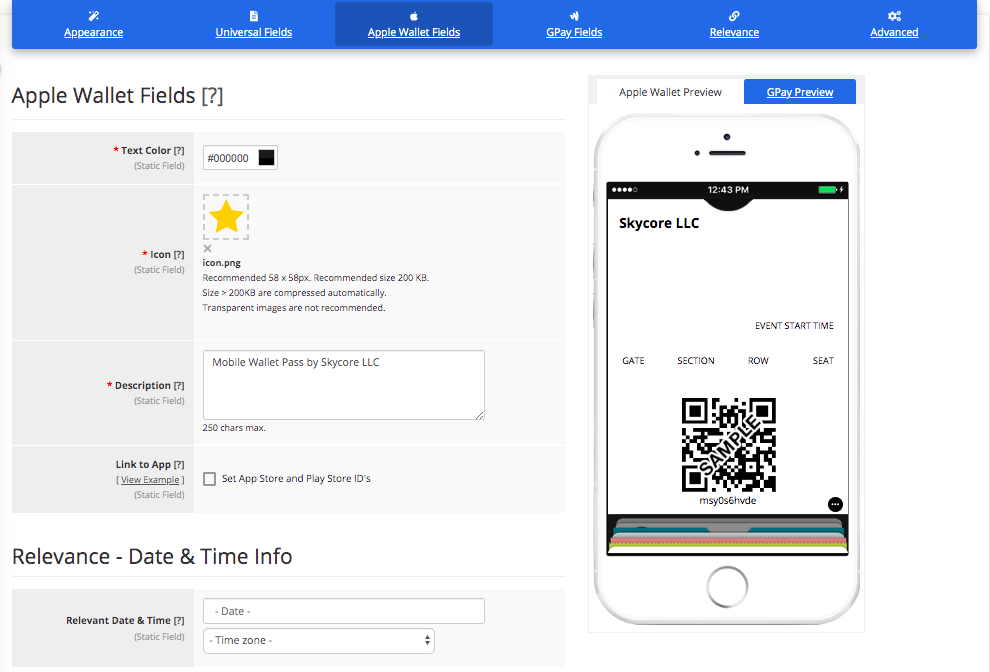
Add any color to the text fields on Apple Passes only.
Icon
Add an icon that will appear on your customer’s lock screen for Pass updates and notifications.
Description
Add a description for blind and low vision users on Apple Passes.
Link to App
Link an app to the Pass. The app will only appear on the back of Apple Wallet Passes.
Relevant Date & Time
Set a relevant date and time for the Pass to appear on the device’s lock screen.
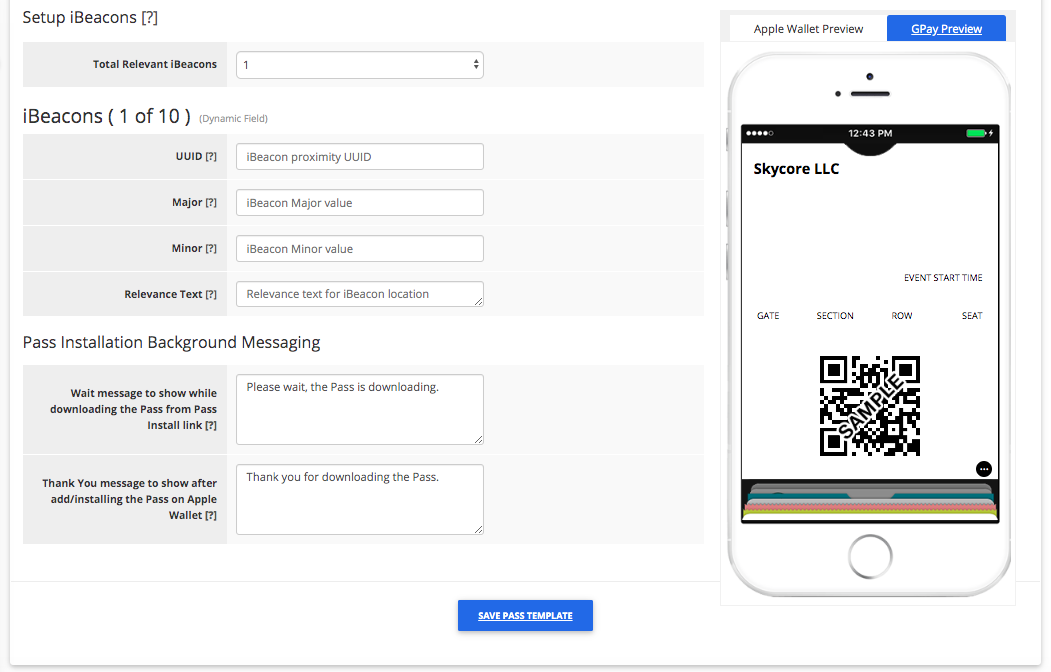
iBeacons – UUID, Major, and Minor Values, and Relevant Text
Add up to 10 iBeacons for each Pass. Defining the UUID, Major, and Minor values are necessary for the iBeacon to work. Add relevant text that will appear on the customer’s screen when the iBeacon is detected in a range.
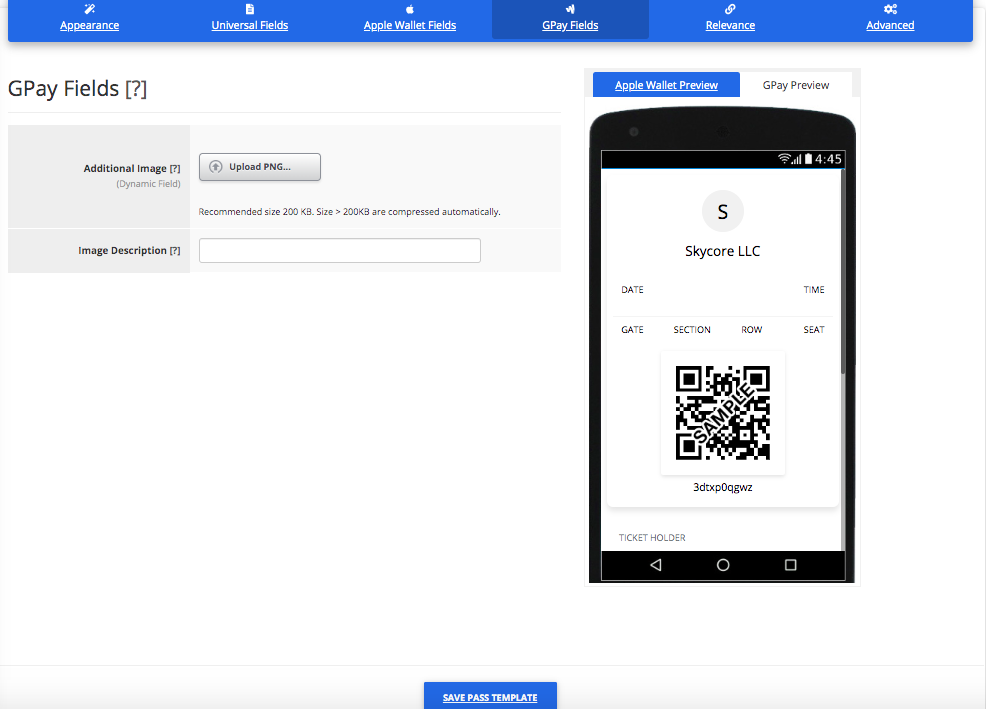
If you choose to upload an additional image for Google Pay Passes, the image will appear below the Pass. The image will not appear anywhere on Apple Wallet Passes. You can preview how the additional image will appear by clicking ‘G Pay Preview’.
Additional Image Description
Add a description for the additional image. The description will not appear on the Pass.
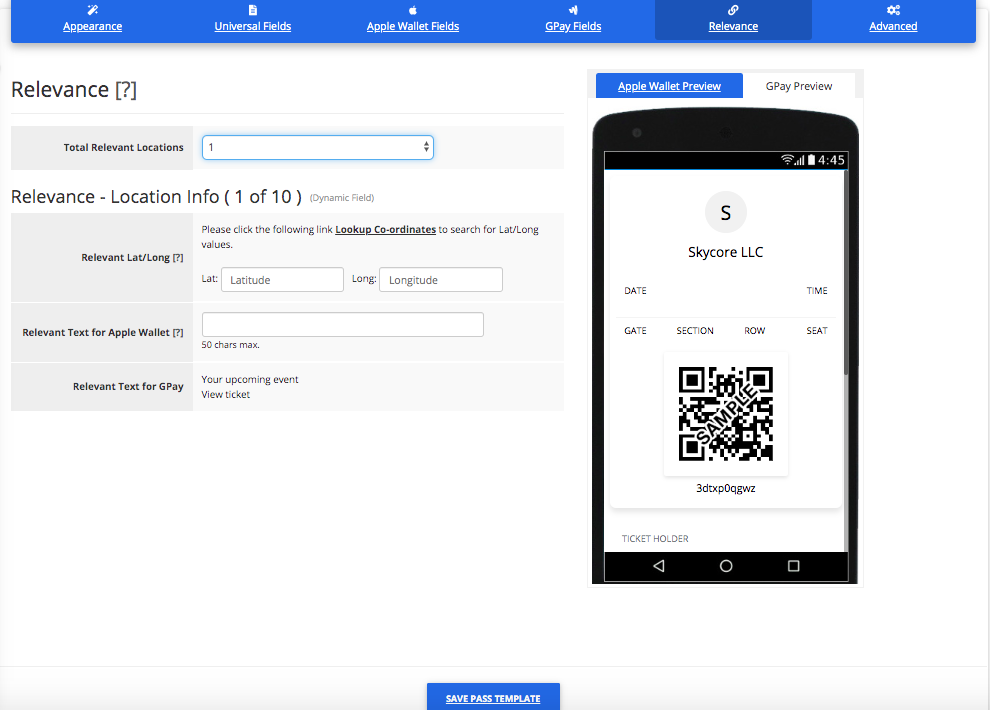
Add up to 10 GPS locations to display a message/notification on your customer’s lock screen when they are nearby.
Relevant Text for IOS
This is the custom text that will appear when the device is within the boundaries of the relevant address.
Relevant Text for Android
This is the fixed text that will appear when the device is within the boundaries of the relevant address. The text is defined by Google Pay and cannot be customized.
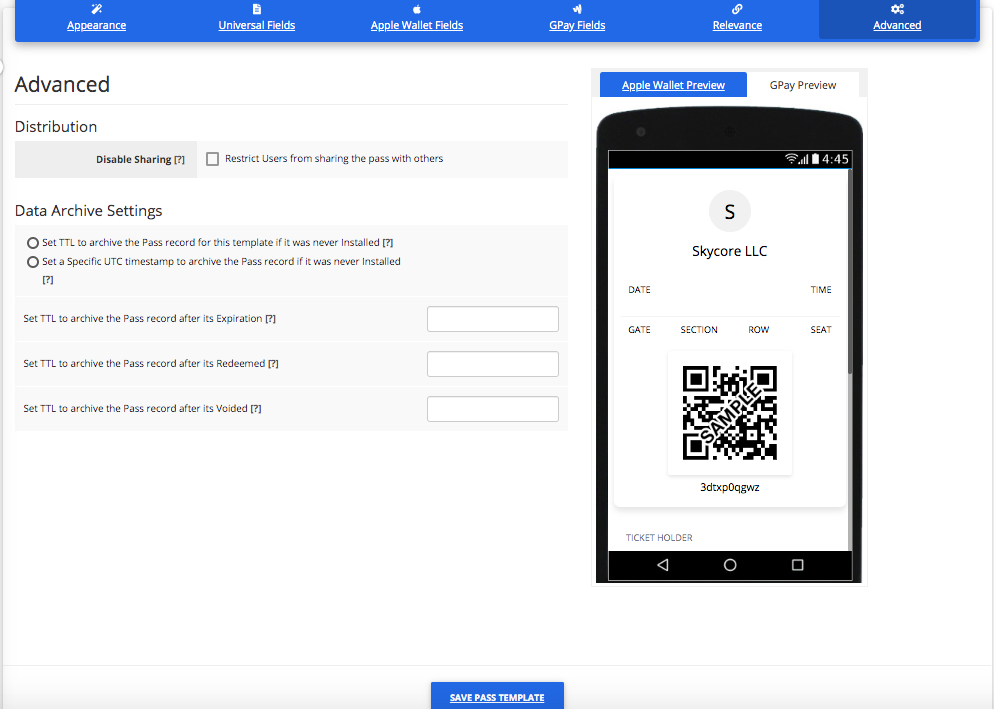
Selecting this option will disable your customers from sharing the Pass on Apple Wallet or share the Pass install link on both Apple Wallet and Google Pay to another device.
Data Archive Settings
These settings allow you to set a TTL (time to live) for each Pass. TTL settings can be set per Pass Template so that the value set for the TTL will get updated for each Pass depending on the events that occur.